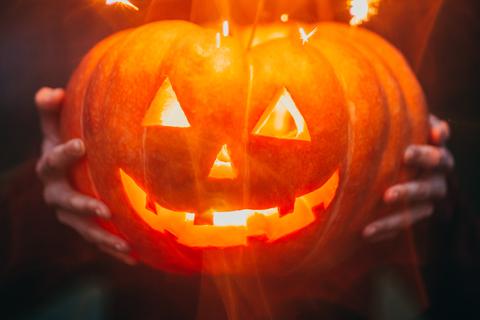
Your kitchen table is donned in plastic, with slimy pumpkin guts and seeds sprawled around the edges. After 17 different design consultations with your little one (aka The Boss), Dad has finally gotten the approval on his rough sketches for the jack-o-lantern.
He steadies his carving knife and begins to make the first incision but those gooey pumpkin innards have made his hand slip. Before you know it, those orange guts are mixed with red blood from Dad’s finger.
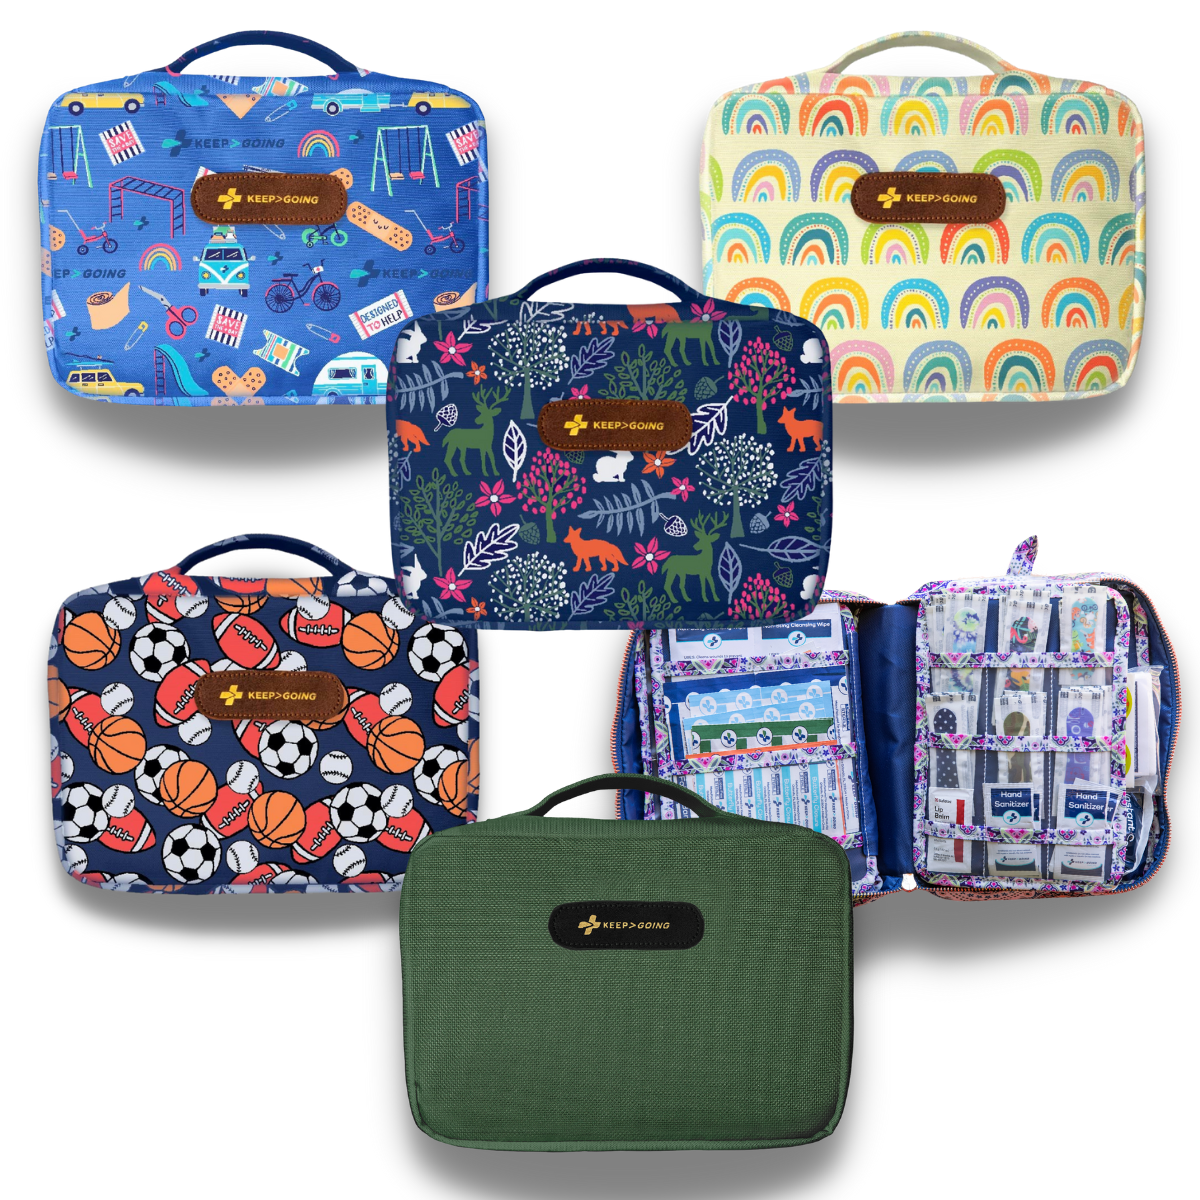
It may look like a horror scene but don’t panic! Grab your First Aid bag (like our Keep>Going First Kit) and let’s save your pumpkin carving fun.
Step 1: Apply Pressure
If dad’s finger is dripping blood, first, be grateful there’s plastic wrap on your kitchen table so you don’t have to worry about stains. Then, use a paper towel, tissue or other dry, clean cloth and apply constant pressure to the area.
Remove a ring or bracelet in order not to impeded blood flow and swelling.
Have dad hold his hand above his heart so the blood slows. Once the bleeding slows, you’re ready to dress the wound.
Step 2: Clean It Up
Your cute personal First Aid Kit isn’t just for looks, it’s ready for action. Clean the cut with warm water and soap or one of the non-sting antiseptic wipes included in our First Aid Kit. Next grab a triple antibiotic ointment packet and a cotton tip applicator. Use the applicator to place a thin layer of antibiotic ointment on the cut. Your antibiotic ointment is one of the many useful items in your compact First Aid Kit because it will prevent infection.
Step 3: Wrap It Up
Once the cut is clean, you can bandage it up. Your Keep>Going First Aid Kit is small but mighty. Although it’s just a travel size First Aid Kit, you’ll find several bandages and wrapping choices for any cut or wound.
Take a look at dad’s bloody finger and decide which bandage is best for the situation. You might need a small or large bandage, or if it’s on the knuckle, whip out a knuckle bandage so he still has range of motion. For larger wounds, consider using gauze and first aid tape to wrap it up.
Step 4: Get Back to Carving
Your Keep>Going First Aid Kit saved the day and Dad is back in business! What’s left to do now? There’s still a pumpkin to be carved. Let him get back to the fun…but more carefully this time.
If Dad’s jack-lantern injury simply won’t stop bleeding, begins to swell, or looks deep, a visit to the ER may be in order.
Don’t let a spook like a bloody finger ruin your annual pumpkin carving night. As a Keep>Going First Aid Kit mom, you know just what to do to save the day. These kits are Designed to Help and get you back into the Halloween spirit!
GET 10% OFF IMMEDIATELY
Subscribe to our Newsletter and receive a 10% coupon when you enter your e-mail address.